Explore pumpkin activities for preschoolers with the ideas below. Pumpkin activities preschool shouldn't require a trip to the pumpkin patch or a complicated craft. This guide groups simple, hands‑on ideas by the skills they build—sensory exploration, art, fine motor, and early science—so you can pull one together in minutes. Each activity uses basic supplies and keeps the focus on play‑based learning, not Halloween.
Pumpkin Activities for Preschoolers: Why pumpkins make a strong preschool theme
Pumpkins work for fall because they are seasonal, tactile, and naturally connect to literacy, math, and fine motor goals without a Halloween focus. They invite sensory exploration and early science talk about seeds and how a pumpkin grows.
A pumpkin can anchor an entire mini‑unit: children can describe its texture, count seeds, scoop pulp, and hear new vocabulary words. Because pumpkins come in different sizes and shapes, they also support early math language like big, small, round, and heavy.
Keeping the theme open‑ended lets you adapt it to your group’s goals—whether that’s language, motor skills, or simply enjoying a seasonal material.
Sensory and exploration activities
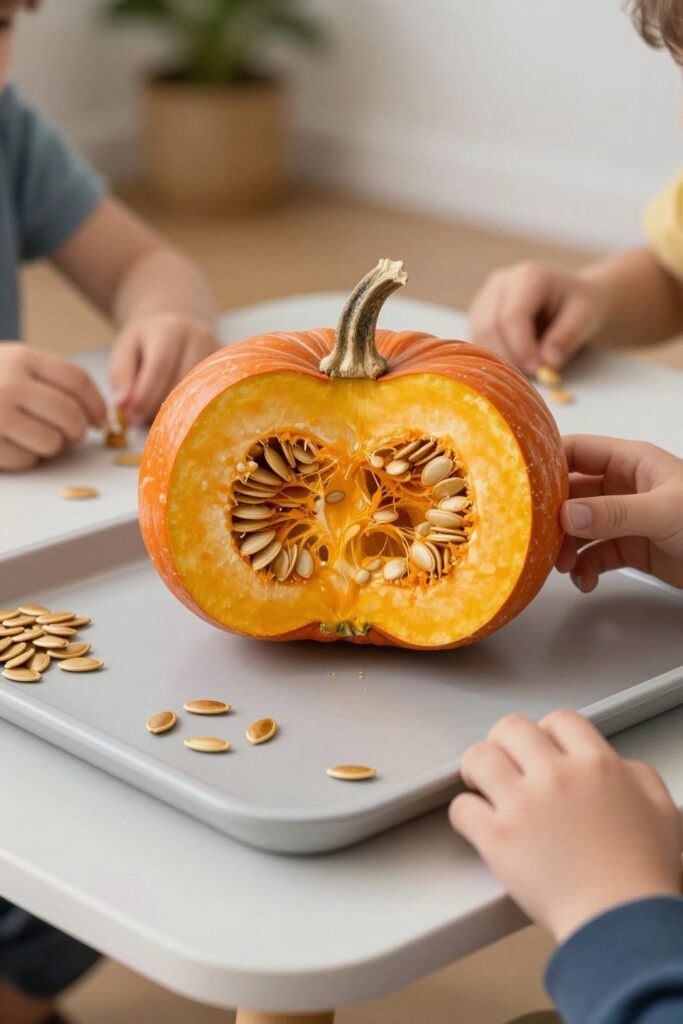
Before cutting a pumpkin open, let children pass it around and investigate. Ask what they think the inside looks like. Then, with an adult using a sharp knife, cut some pumpkins in half horizontally and some vertically. This gives children a chance to compare the different views—most pumpkins show several pockets of seeds.
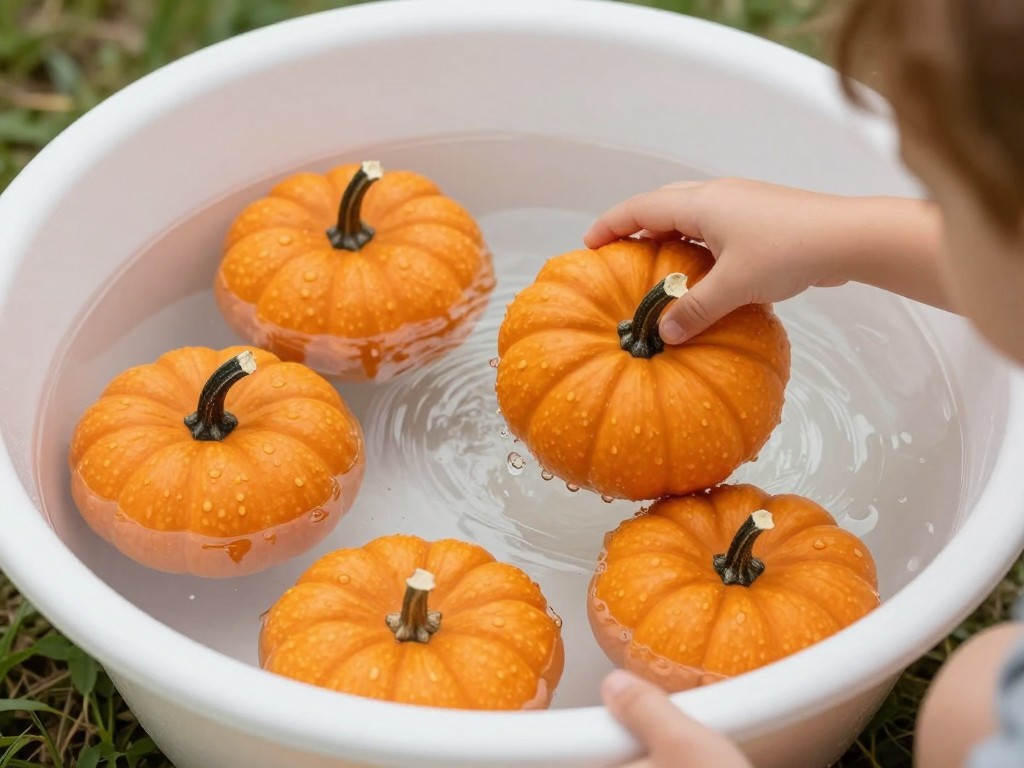
Provide scoops or spoons so children can remove seeds and pulp. Keep a bowl nearby for discarded seeds, and a damp cloth for messy hands. To extend the sensory play, set out a shallow bin of warm water with a small pumpkin for dunking and pouring.
These simple actions build observation skills and vocabulary while keeping the activity open‑ended. Always supervise closely, and do any cutting before children handle the insides.
Art and painting activities
Drip painting is a low‑mess option: place a white pumpkin inside a large shallow bin, then let children drip paint over it. The bin contains the mess and makes cleanup easier. Any color pumpkin works, but white shows the paint clearly.
Children can also decorate pumpkins with paint or markers. If you want the finish to last, apply a sealant to the pumpkin and let it dry before painting. Sealants come in spray or liquid form; doing this the day before gives plenty of drying time.
Set out small cups of paint, brushes, and smocks. Keep the focus on the process, not a perfect product, so children feel free to explore color and texture.
Fine motor and movement activities
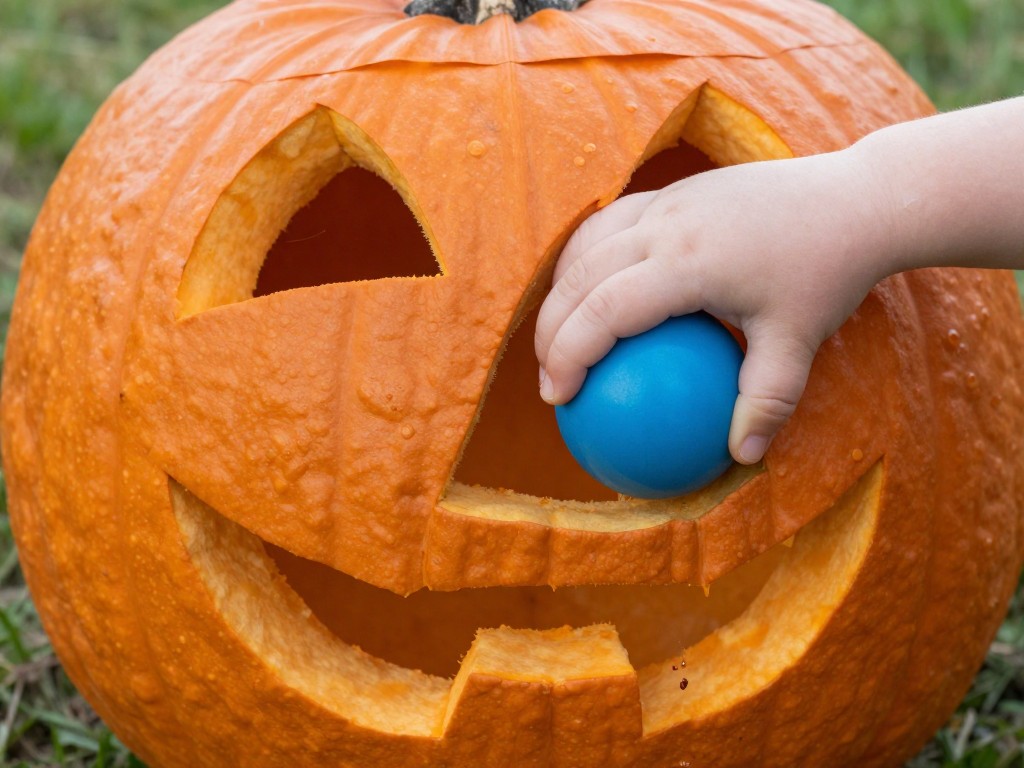
For a ball drop, carve holes in a large pumpkin sized for different balls (such as ball pit balls). A toddler can then drop the balls into the holes, which builds hand‑eye coordination and fine motor control. Supervise closely, as the carved holes can have sharp edges.
Other hands‑on options include letting children place stickers on a pumpkin or use a toy hammer to tap golf tees into it. These activities strengthen the small muscles in hands and fingers while keeping the theme playful.
Rotate the activities to match attention spans, and offer a few choices so children can revisit favorites.
Life cycle and early science talk
Use pictures to show the pumpkin plant through its stages: seed, seedling, vine, flower, and full‑grown pumpkin. Pair the talk with a simple life cycle cut‑and‑paste or set up a science center with real seeds and sprouts.
As children handle seeds and pulp, reinforce that a pumpkin is a plant and many plants make seeds to grow new plants. Ask open‑ended questions like “What do you notice?” to encourage observation and language.
Keep the science talk short and concrete, connecting it to the pumpkins children are touching and seeing.
Simple setup and supply tips
Choose a few activities that match your group’s goals rather than trying to do everything. Small pie pumpkins are easy for small hands and require less cutting. Have a sharp knife on hand for an adult to do any cutting before children handle the insides.
Gather basic supplies: a shallow bin, paint cups, smocks, scoops, bowls, and a damp cloth. Set up stations ahead of time so children can move between them smoothly.
Keep activities flexible and low‑prep. If something isn’t working, simplify or switch to another option. The goal is playful exploration, not a perfect finished product.