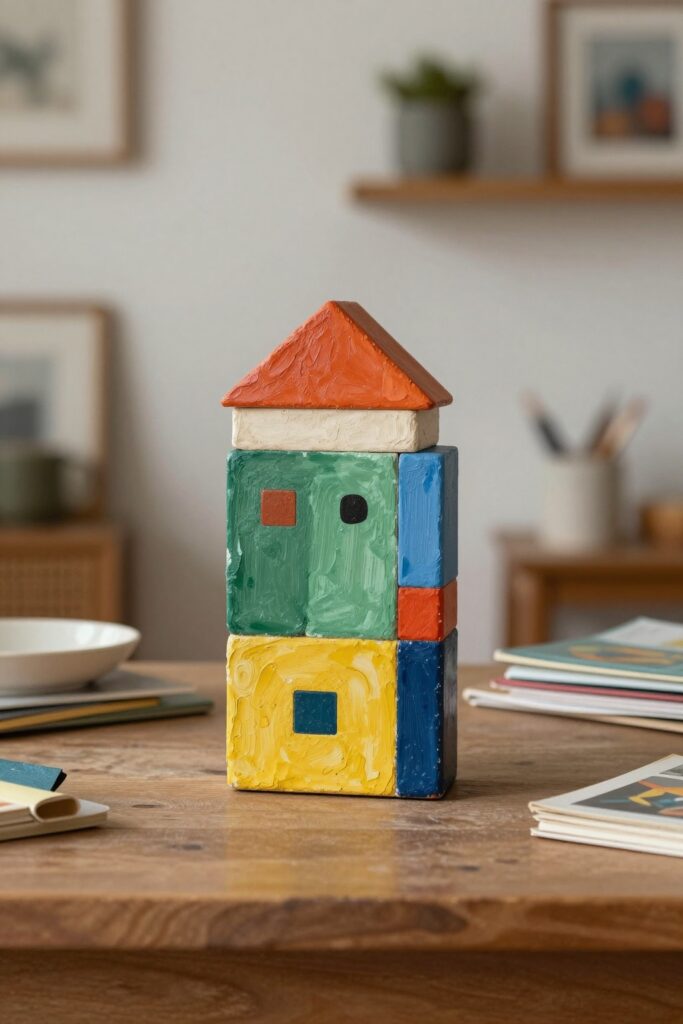
Explore small craft corner decor with the ideas below. Craft room decor ideas for a small space setup often focus on shopping lists, but the real problem is planning order. Craft supplies multiply faster than storage, and the first sign is a lost work surface. This guide walks you through a practical sequence: establish storage, add a work surface, keep tools close, coordinate bins, display what inspires you, and borrow styling fixes for awkward corners. No physical testing or exact measurements are needed—just a clear method you can adapt to a dedicated room, a shared space, or a single corner.
Small Craft Corner Decor: Why Craft Spaces Get Overwhelmed
Craft rooms tend to accumulate supplies faster than storage. The first visible symptom is usually the loss of clear work surface—piles of fabric, paper, or tools take over the very area meant for making. This happens because storage, work surface, and display are often treated as separate problems. Instead, treat them as one planning sequence. Start by recognizing that clutter is not a failure of willpower but a sign that supplies lack a defined home. Once you see the pattern, you can fix it with a deliberate order that prevents the surface from becoming default storage.
Start With Storage, Then Work Surface
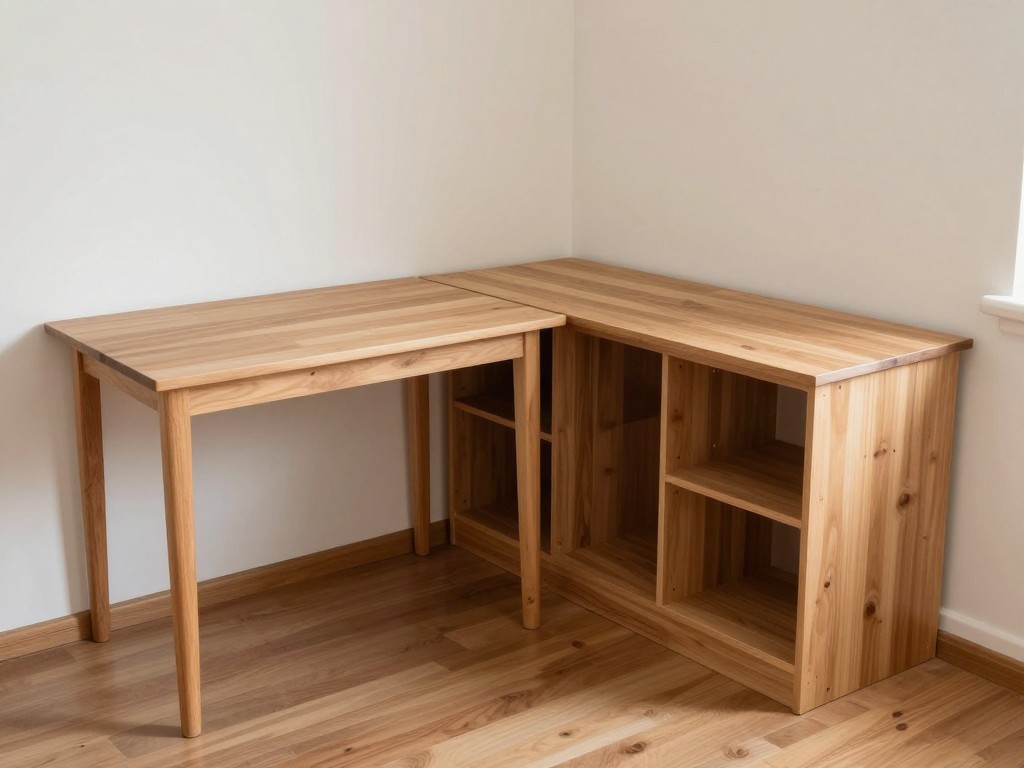
Begin with smart storage solutions so every supply has a defined home. This step is first because if you add a table before storage, the table will quickly become a catch-all. Once storage is in place, add a sturdy table or island as your work surface. An island with drawers can keep most-used supplies right at hand, but even a simple table works when storage already exists. The order matters: storage first prevents the surface from being absorbed by overflow. This sequence turns a cluttered corner into a functional zone.
Keep Tools Within Reach
Place the tools you use most often close to the work area. If you have to leave the surface to fetch a glue gun, scissors, or ruler, you are more likely to pile things on the table and leave them there. Convenience reduces the tendency to stack items on the work surface. Use drawers, bins, or a nearby shelf to keep these items accessible without cluttering the table itself. The goal is to make the right tool easy to grab and easy to put back, so the surface stays clear for making.
Use Coordinating Baskets and Bins
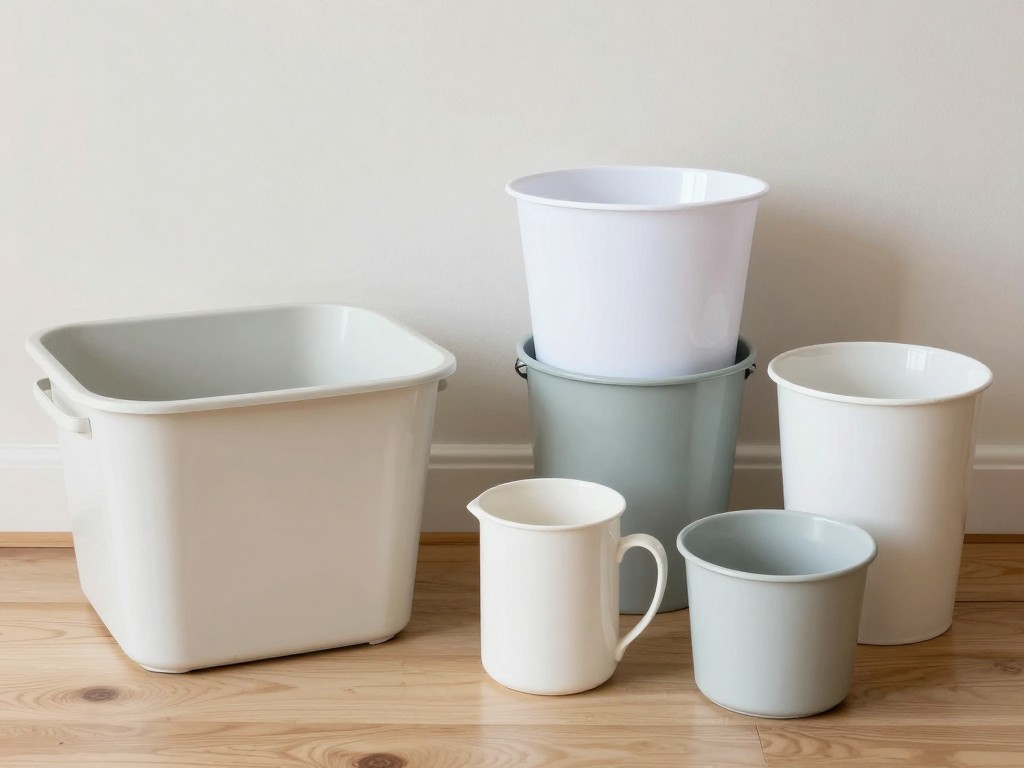
Open storage reads calmer and more intentional when containers share a material, color, or shape family. Coordination does the visual work so labels and contents do not have to. Choose a single style of basket or bin—same material, same color, or same shape—and repeat it. This simple move makes even a small craft corner feel organized and purposeful. You can still sort by category inside each bin, but the outside presents a unified look. The result is a space that feels designed rather than just functional.
Display What Inspires You
Finished projects, framed quotes, and small touches like greenery or floral stems turn a workroom into a space that feels personal. Display doubles as motivation and as decor. Use a shelf or wall area to show off what you have made or what inspires you. This is not about adding clutter; it is about curating a few meaningful pieces. A finished object reminds you why you create, while a framed quote or a plant adds life. In a small setup, this display can be as simple as one shelf above the work surface.
Borrow Styling and Awkward-Space Fixes
General decorating principles apply to craft spaces too. Edit accessories so only what you love and use remains visible. Create balance by distributing visual weight—for example, a tall bin on one side and a low basket on the other. Address corners or narrow zones that never feel finished: a corner can hold a small shelf or a plant, and a narrow wall can take a slim rack or a piece of art. These adjustments make a craft corner feel settled without a full redesign. Try one or two changes at a time and notice how the space feels more complete.